tkl
handmade uk iso tenkeyless
the plan
since the stalks on my Corsair K68 RGB started to wear out, i've been wanting a new keyboard,
preferrably handmade, and without a numberpad for extra mouse space.
i couldn't find any premade
PCBs in ISO for not a stupid amount of money, and handwiring my own is a much cheaper option than
getting PCBs cut.
parts
my first handmade keyboard was shit - it used gateron blues, a (badly) 3D printed chassis [sick68] and a teensy 2.0. i forgot to buy stabilizers, but the concept was sound and it worked.
- teensy 2.0
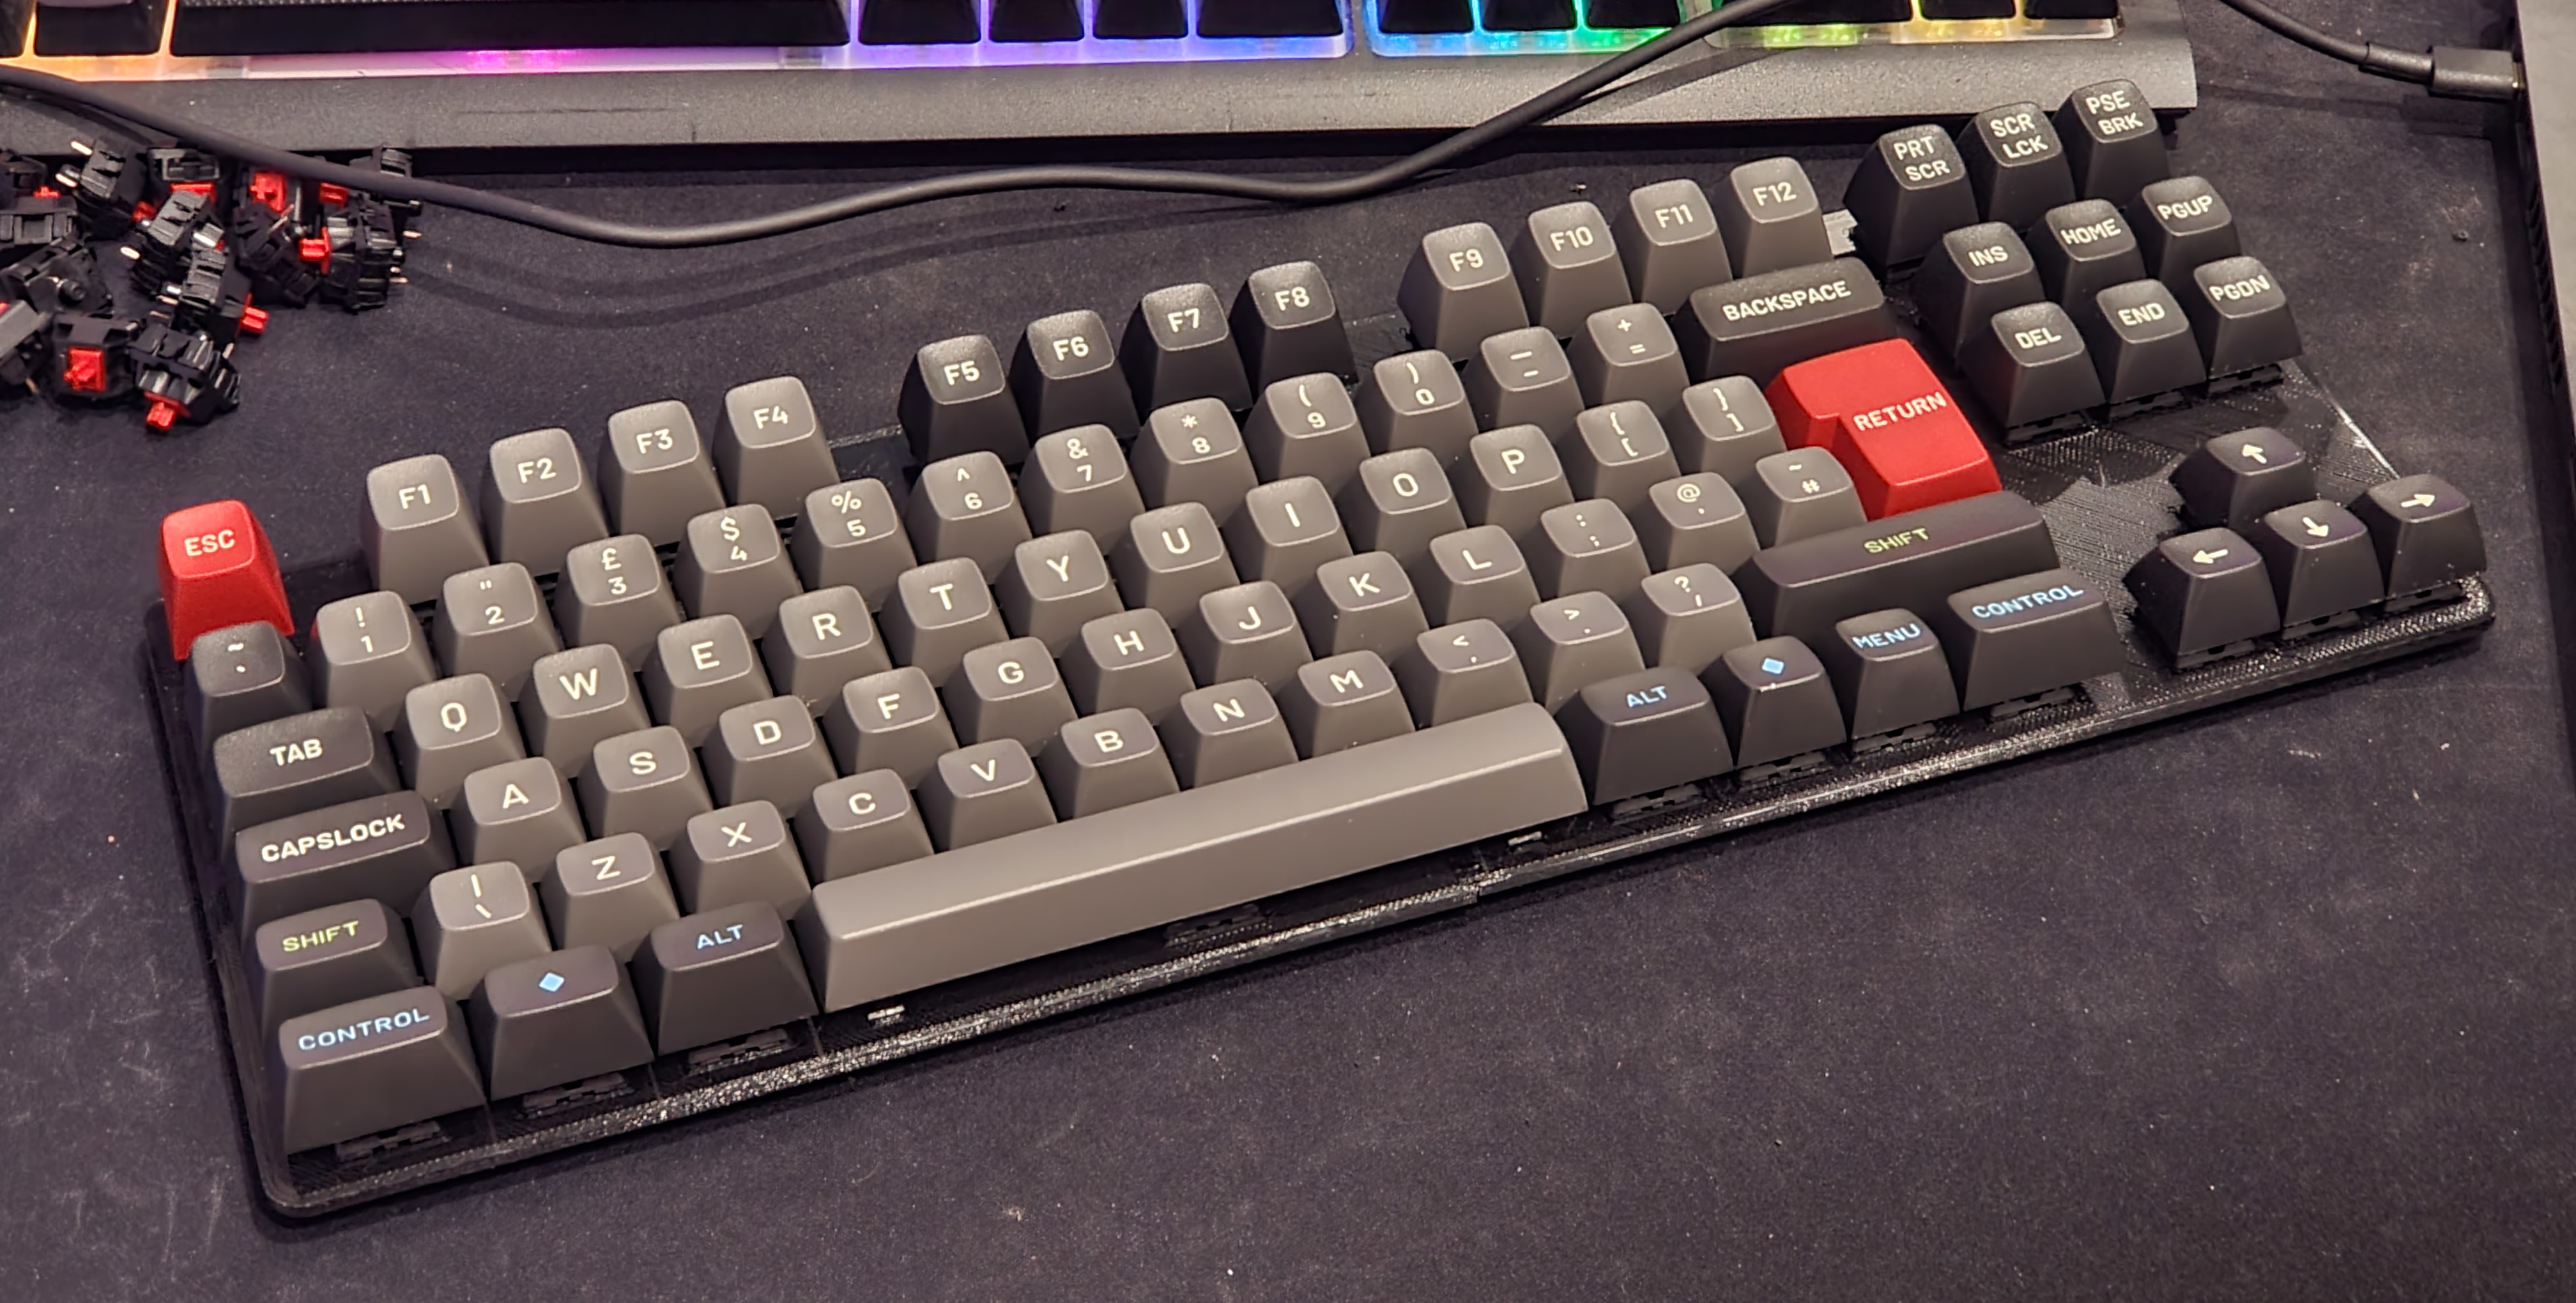
- ~100 cherry MX reds
- ~100 1N4148 diodes
- 3D printed custom chassis
- stripped ethernet cable
- costar stabilizers
- susuwatari MT3 caps
- USB mini B cable
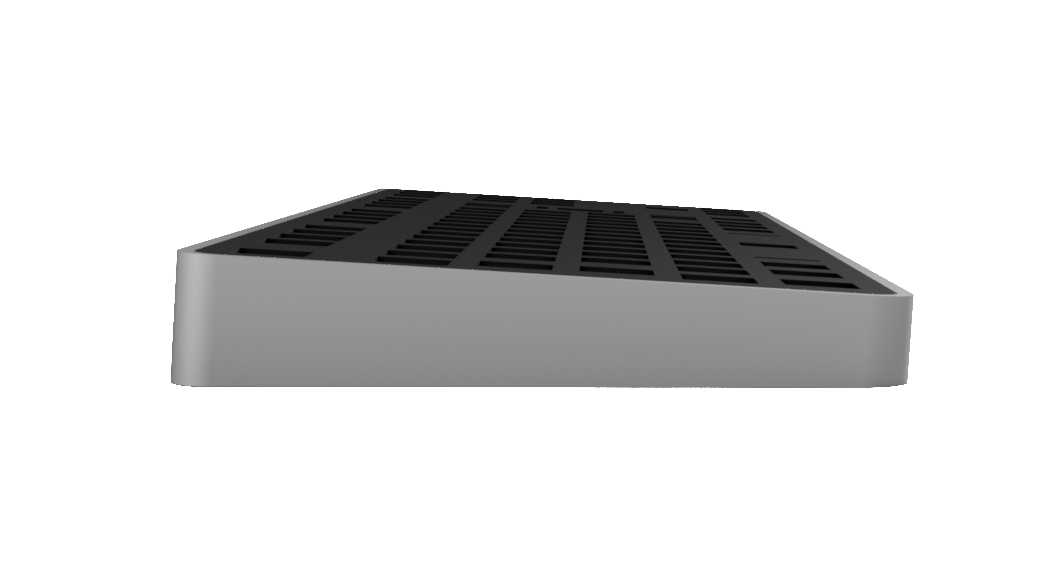
chassis
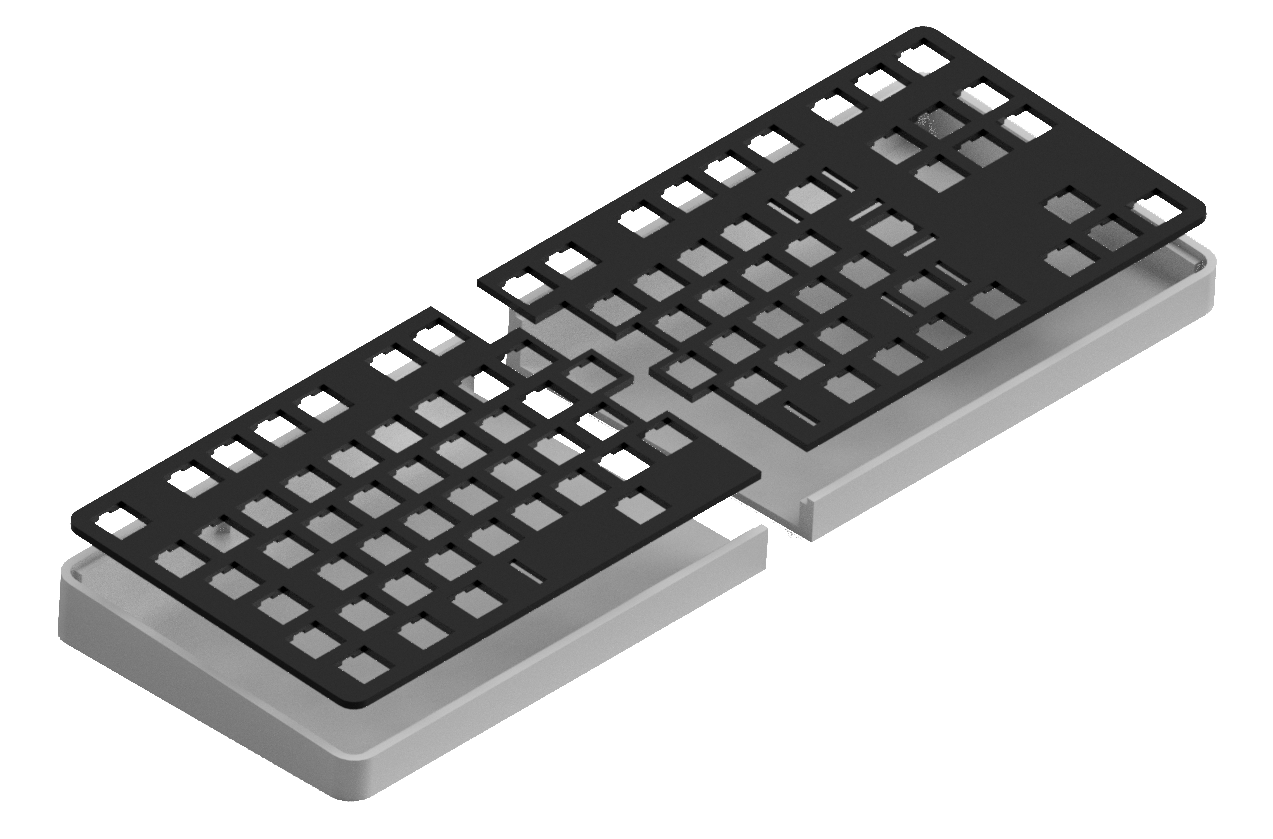
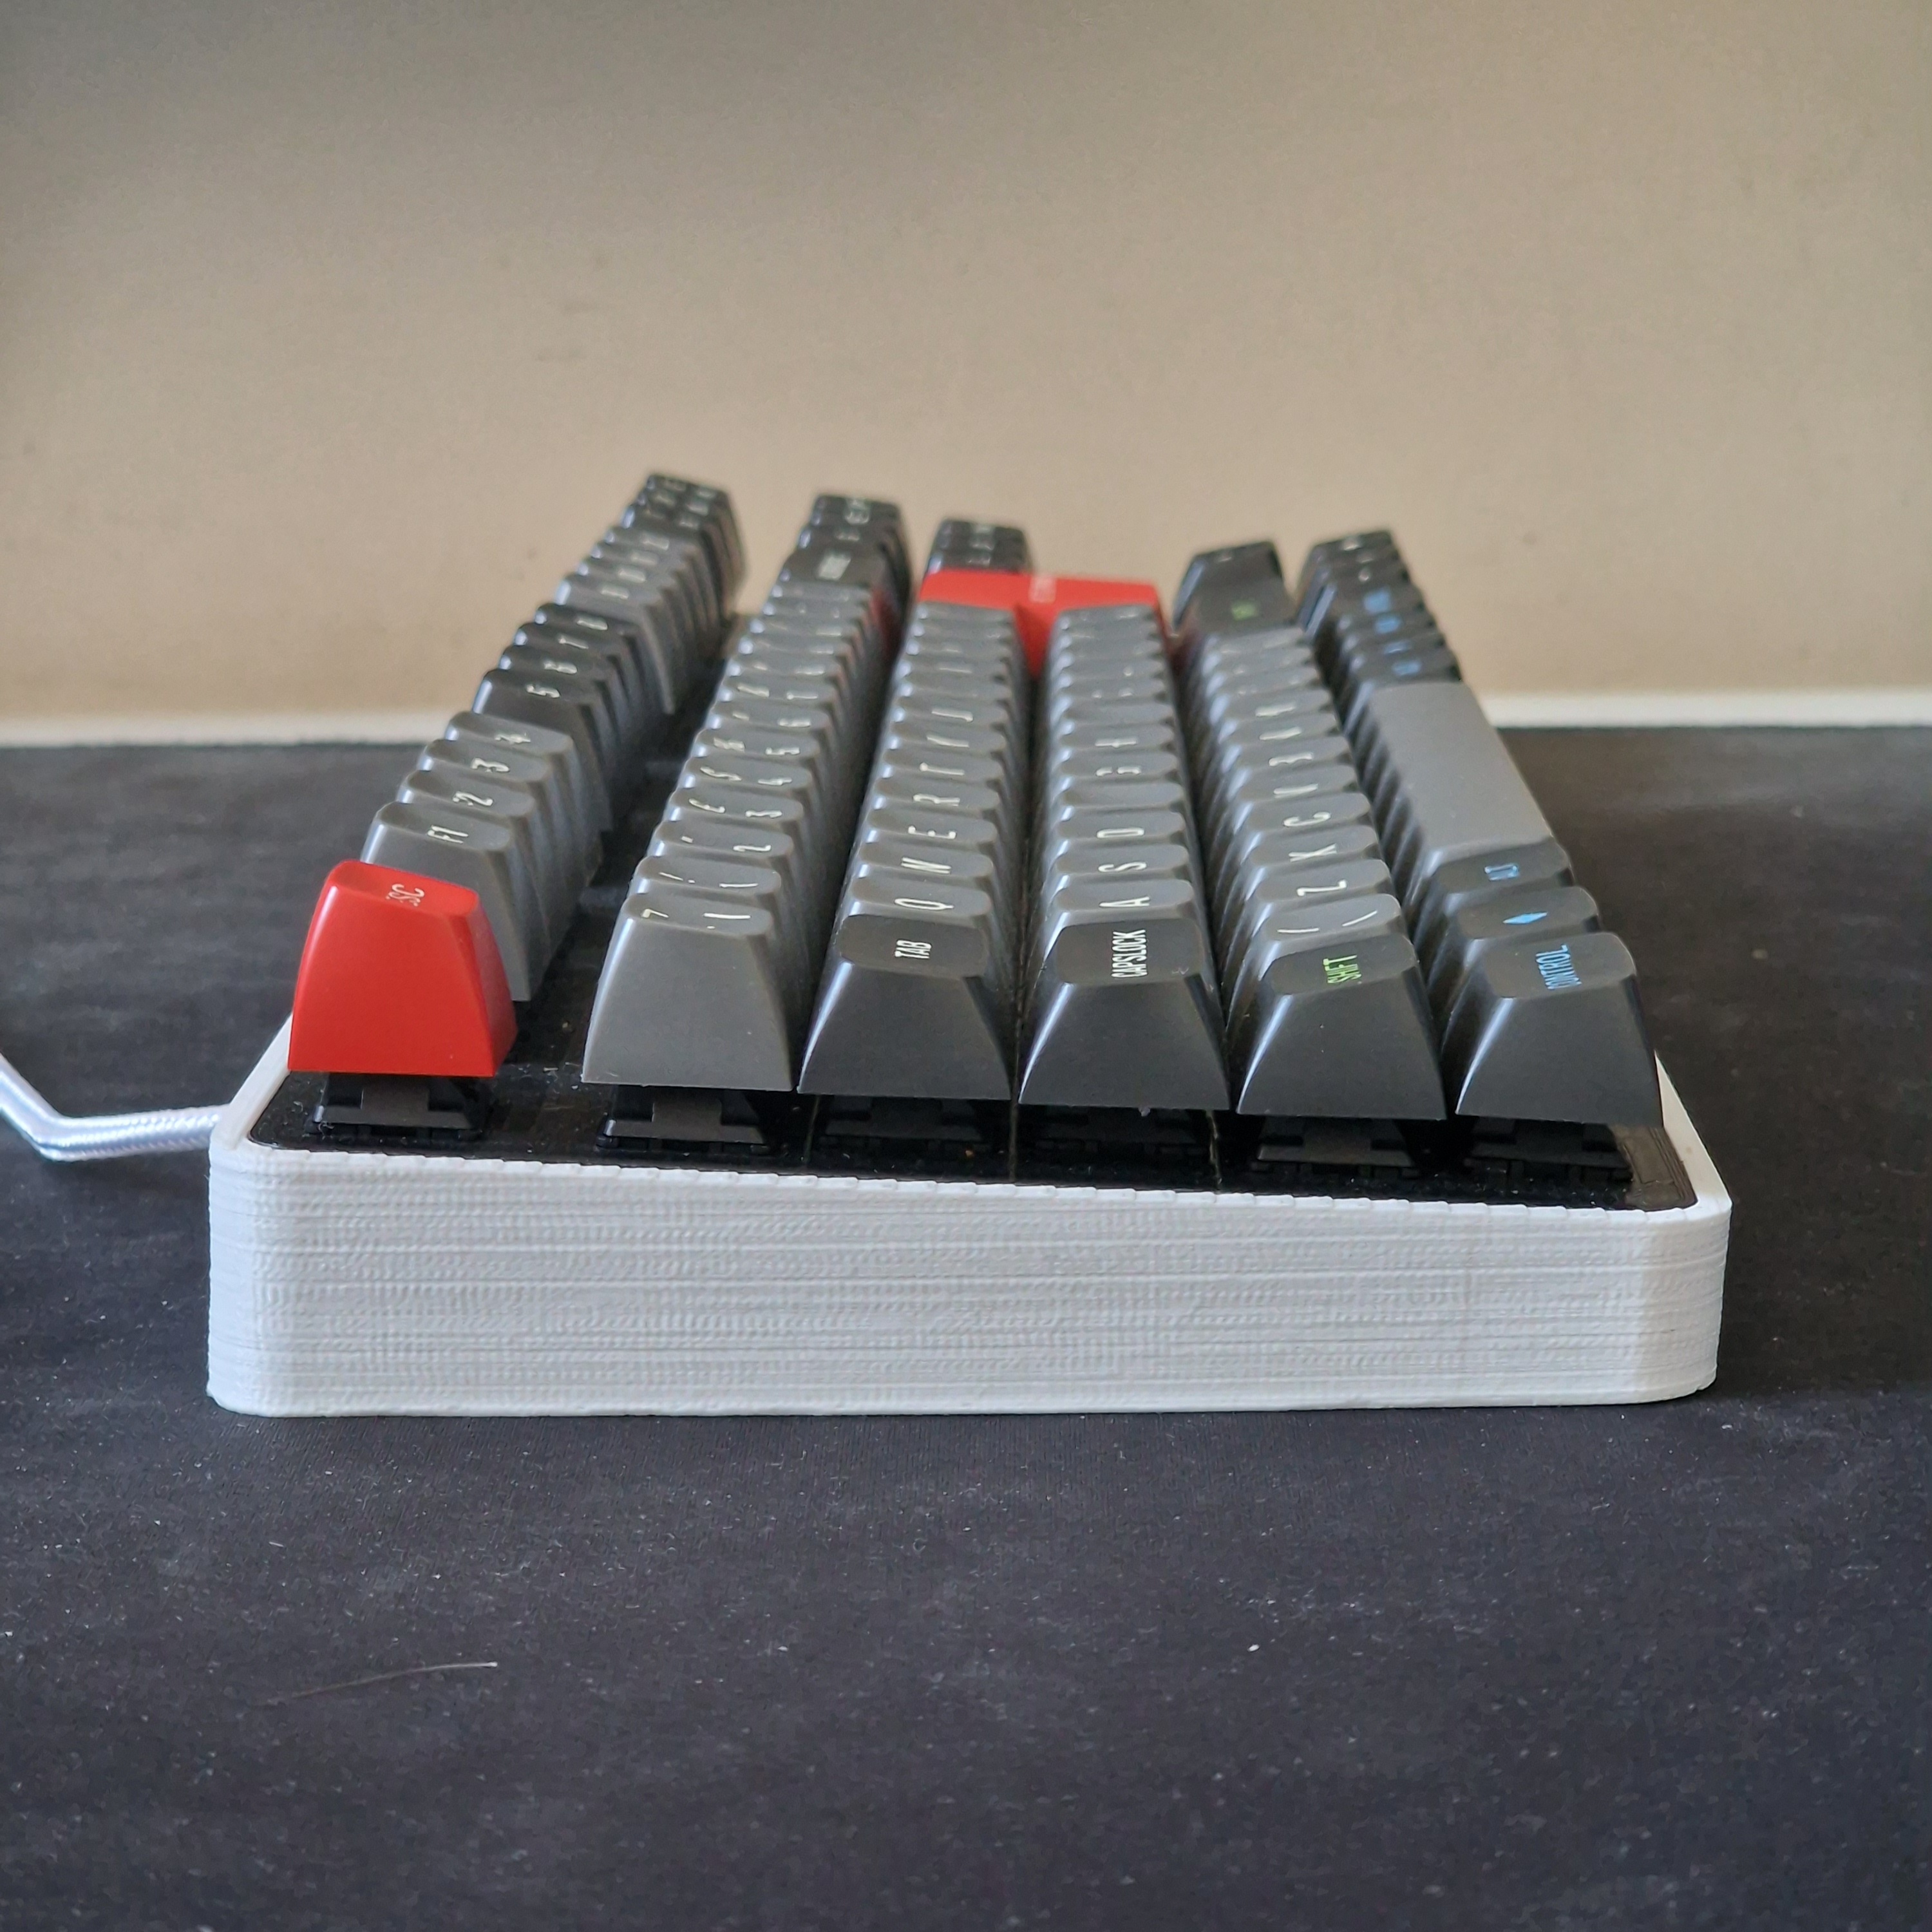
the chassis is designed in four parts, as my Anet A8+ 3D printer takes ~ 6 hours for each part. I decided on a two-tone white and black finish, and utilized the glass bed of my printer to create a mirror finish on the top surface.
the bottom casing is at a 3.5 degree angle, for more comfortable use. the top place sits on runners inside the bottom casing. the parts can be "welded" together using a soldering iron.
i designed the entire model using Fusion 360 - i'm not too familiar with the software but did set out the sketch in such a way i can modify the positions of the keys later without too much hassle.
download .stl
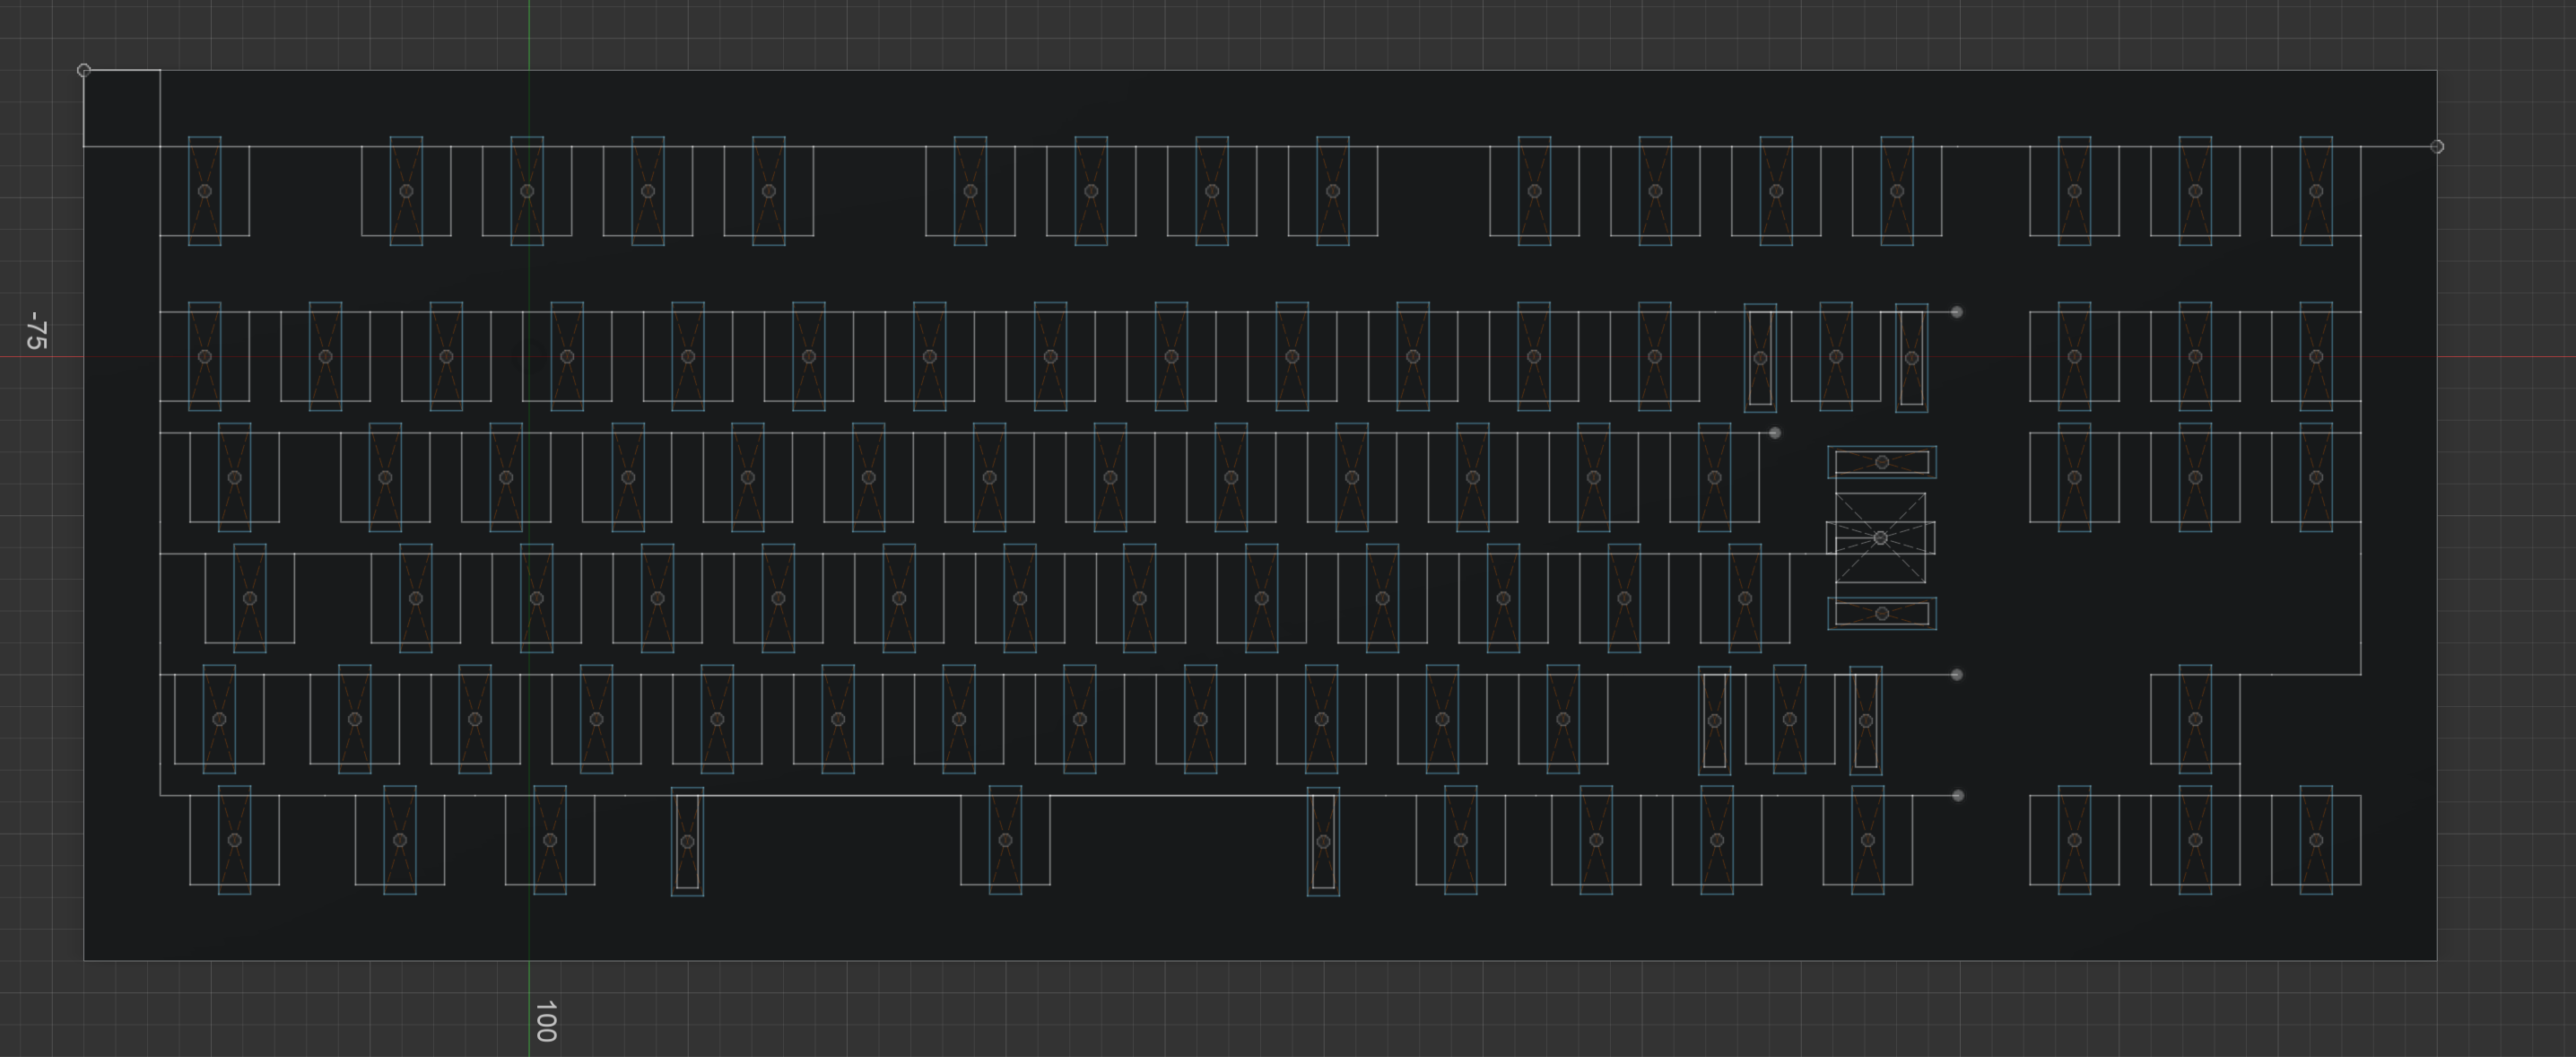
electronics:
a TKL ISO board with a full function row has 87 keys, 6 rows and 17 columns - the way a teensy works as a keyboard is by scanning each row and column to check for connections, so to hook up every key i'll need to use exactly 23 pins.

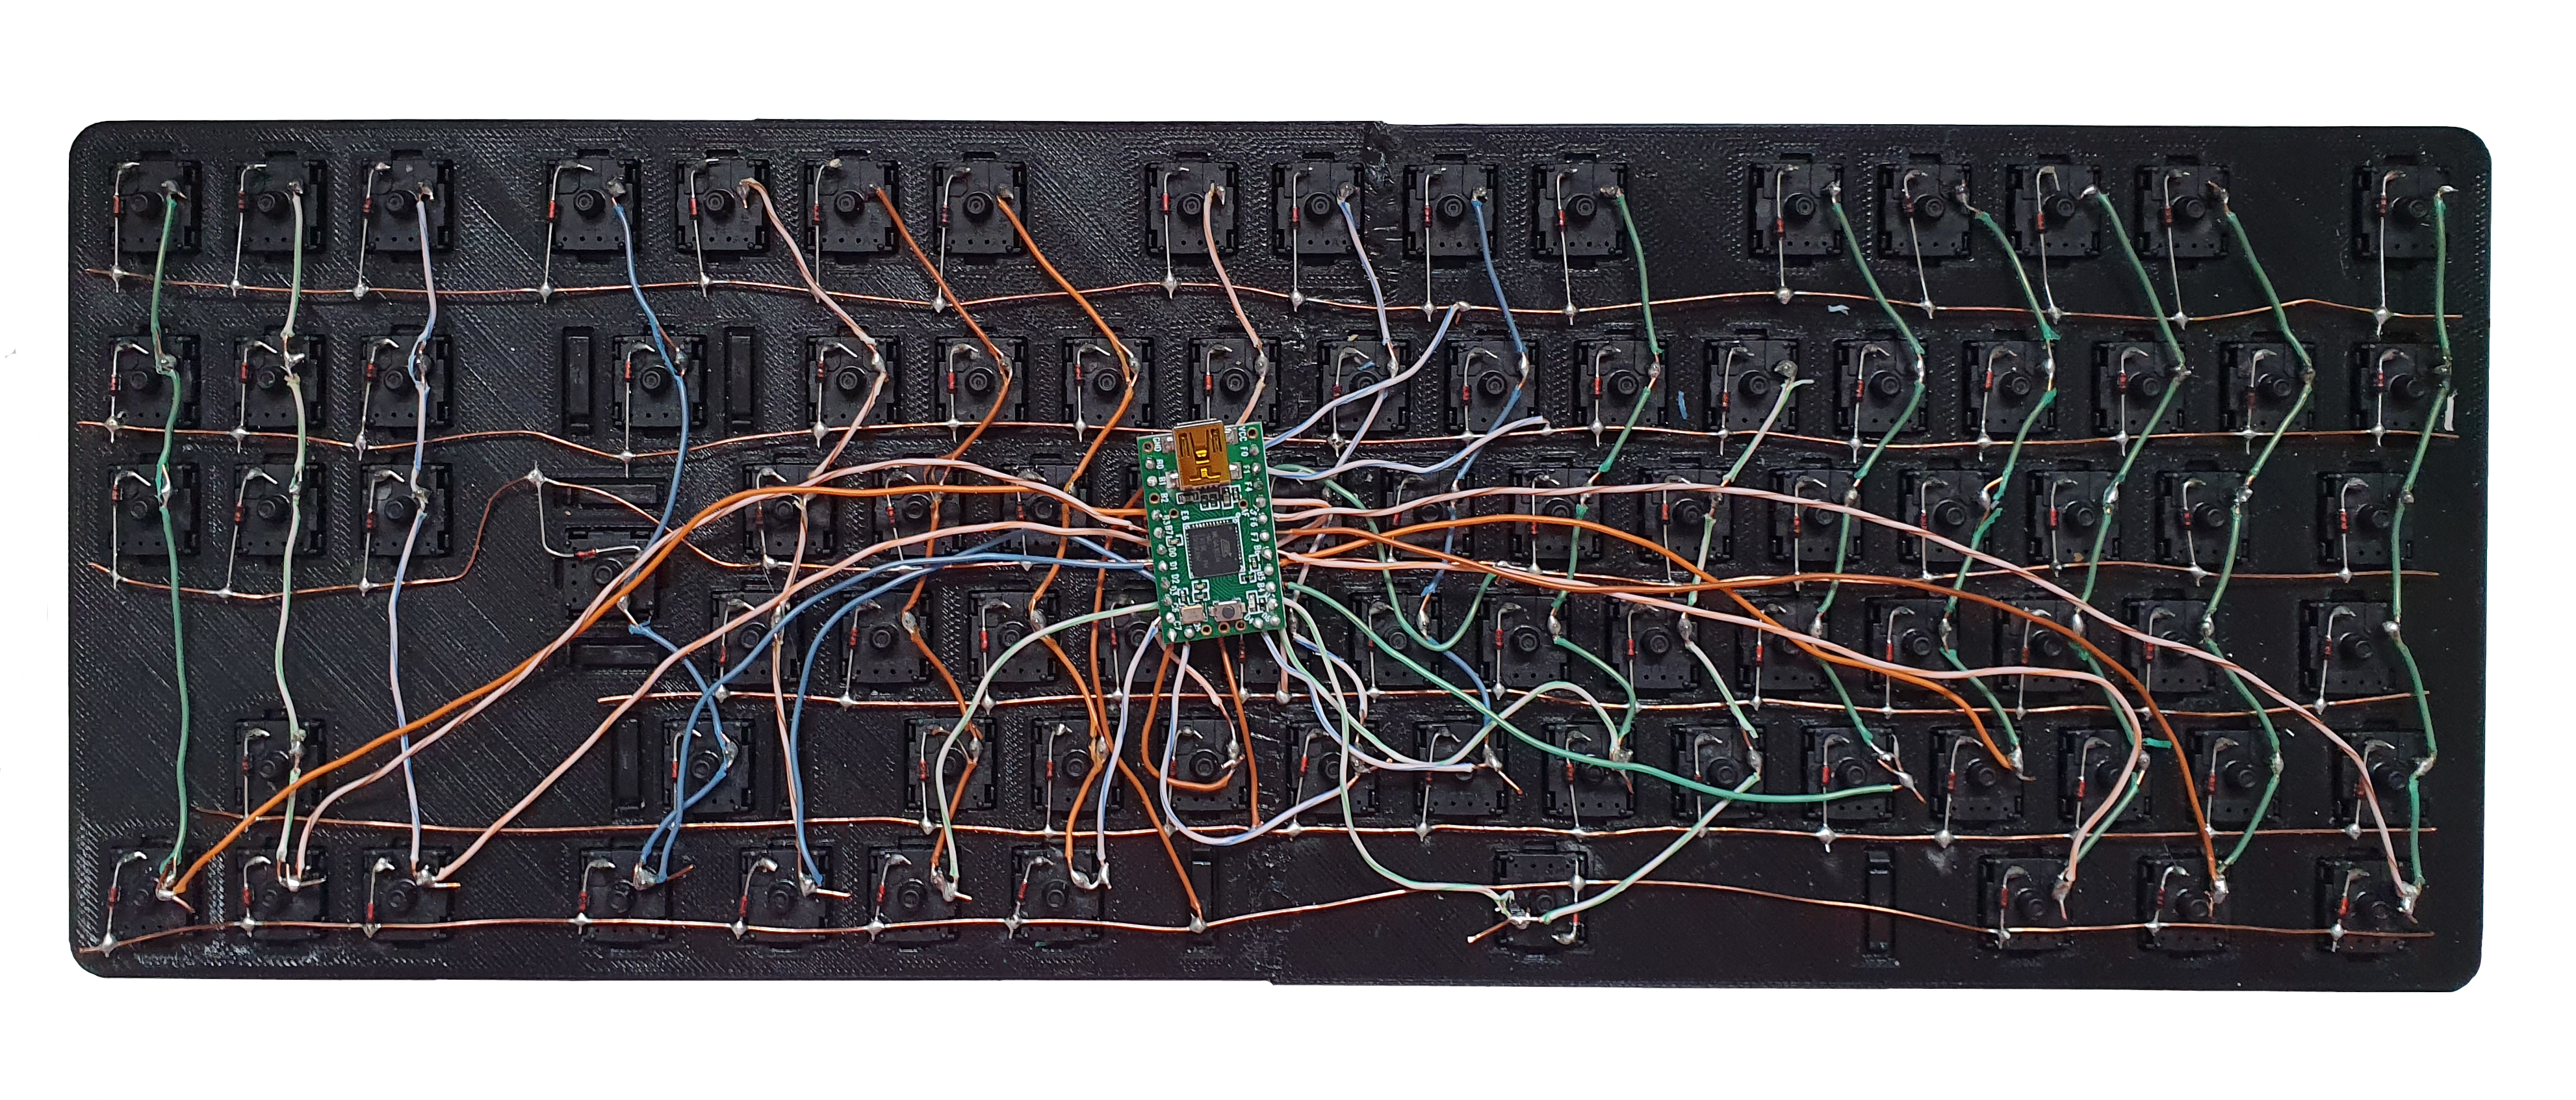
this image is flipped, as you have to solder each wire onto the back of the board, not the front
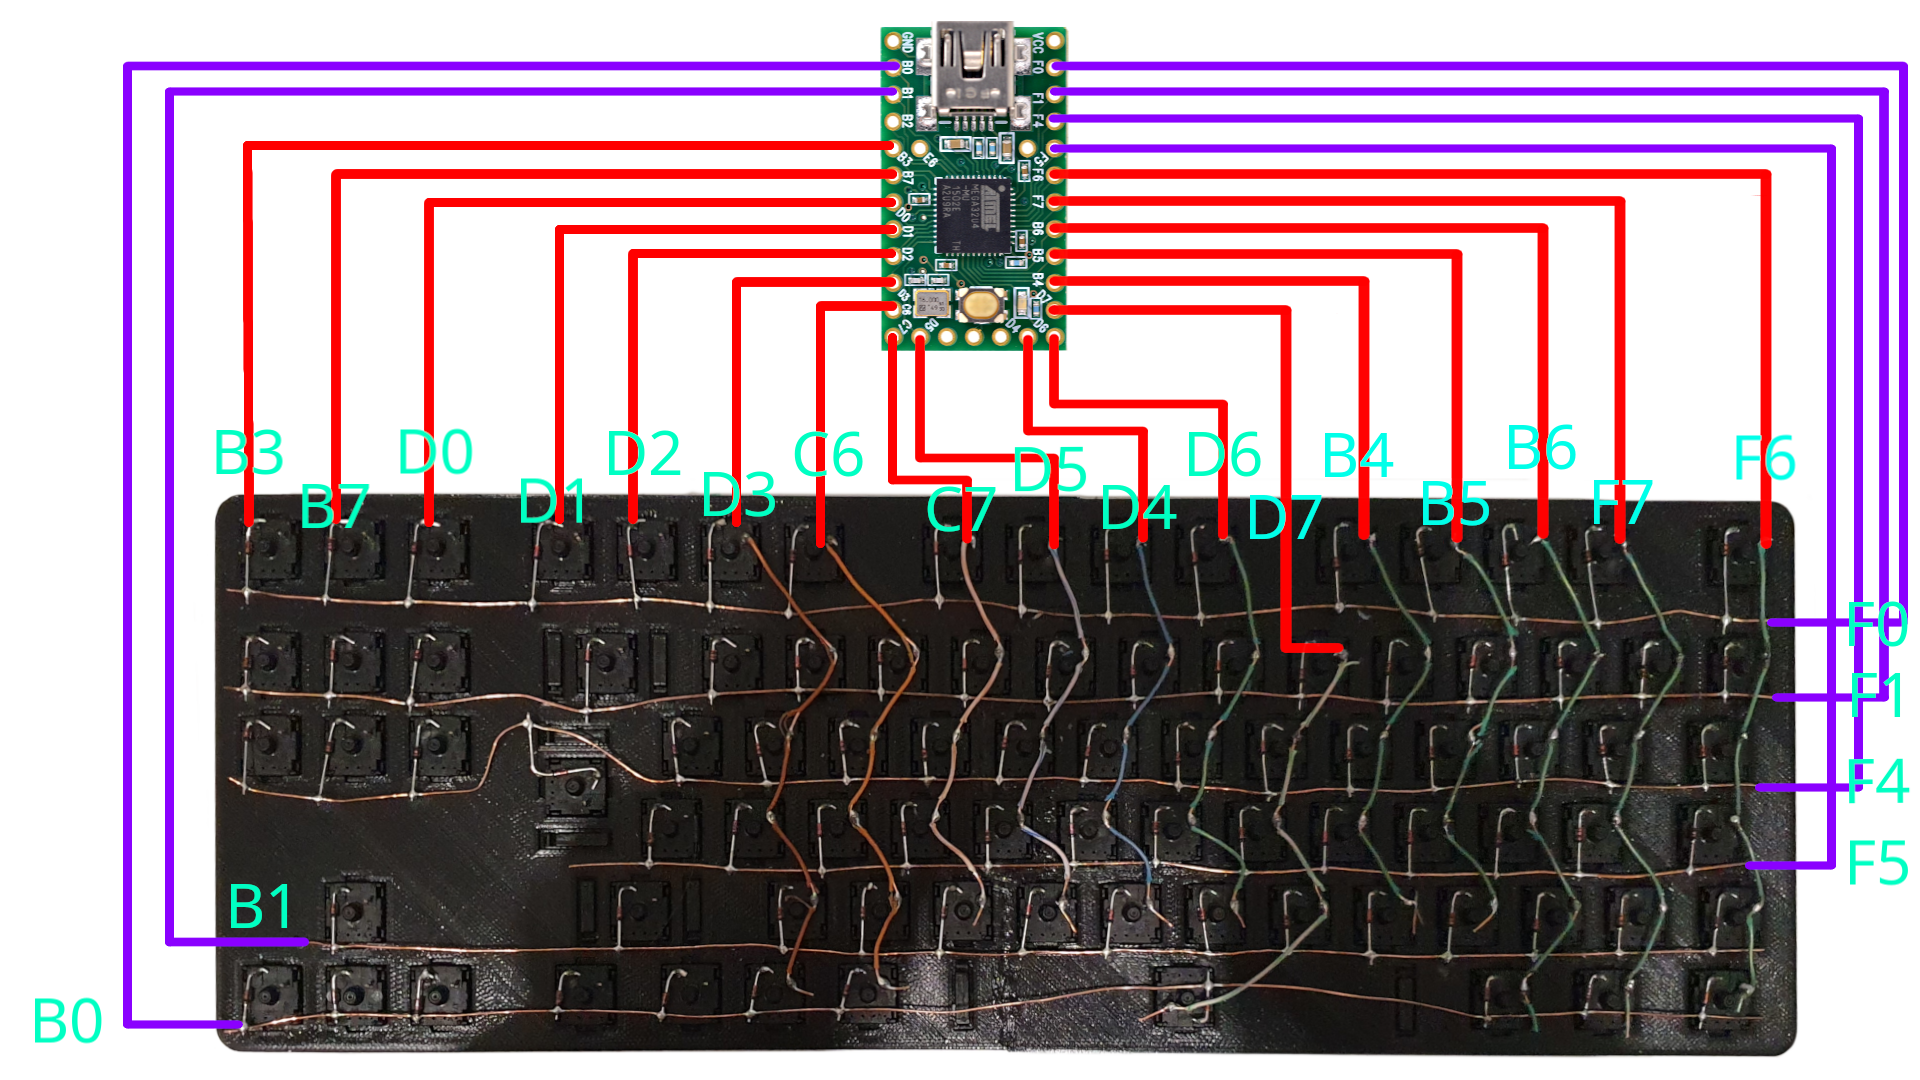
this is the wiring diagram for the board - each row and column is hooked up to a different pin
software
the teensy 2.0 can be turned into a keyboard controller using QMK. you just
need to set up the environment and specify a keymap. You can use my handwired keymap and modify it by
forking my QMK fork.
Once you have QMK set up, run this command and press the reset switch on the teensy:
qmk flash -kb teensy_handw -km default
extended 2048
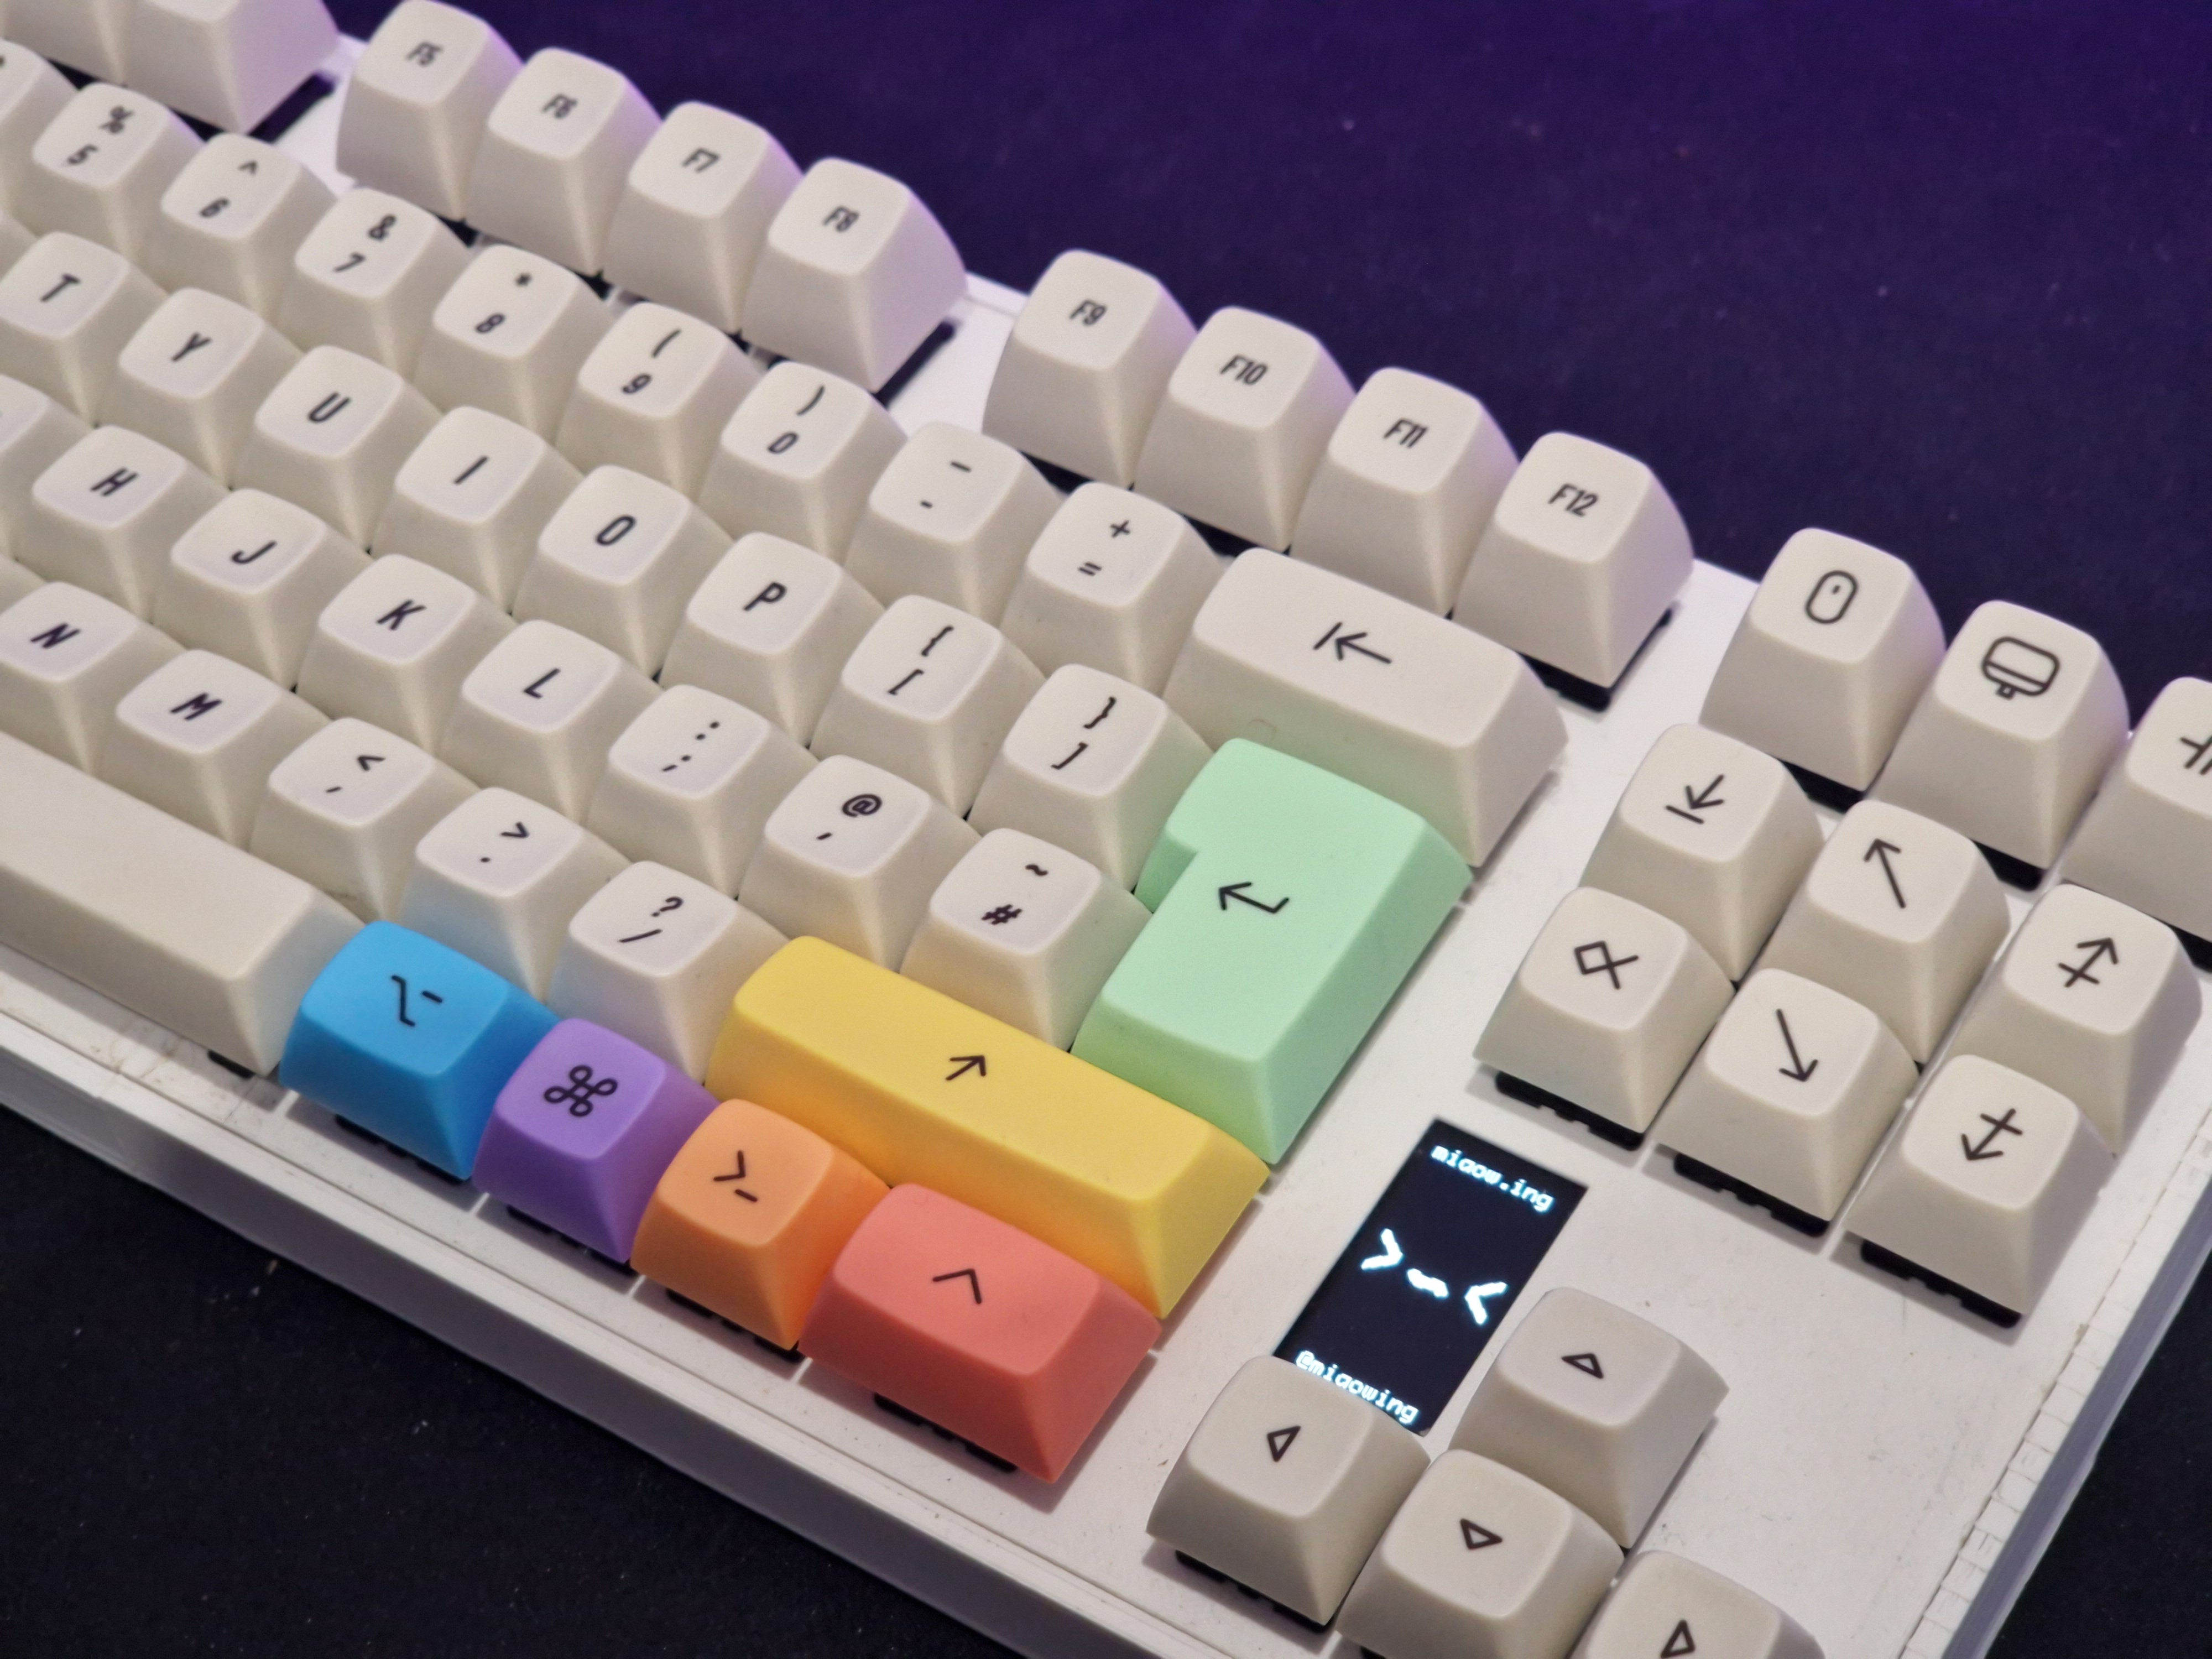
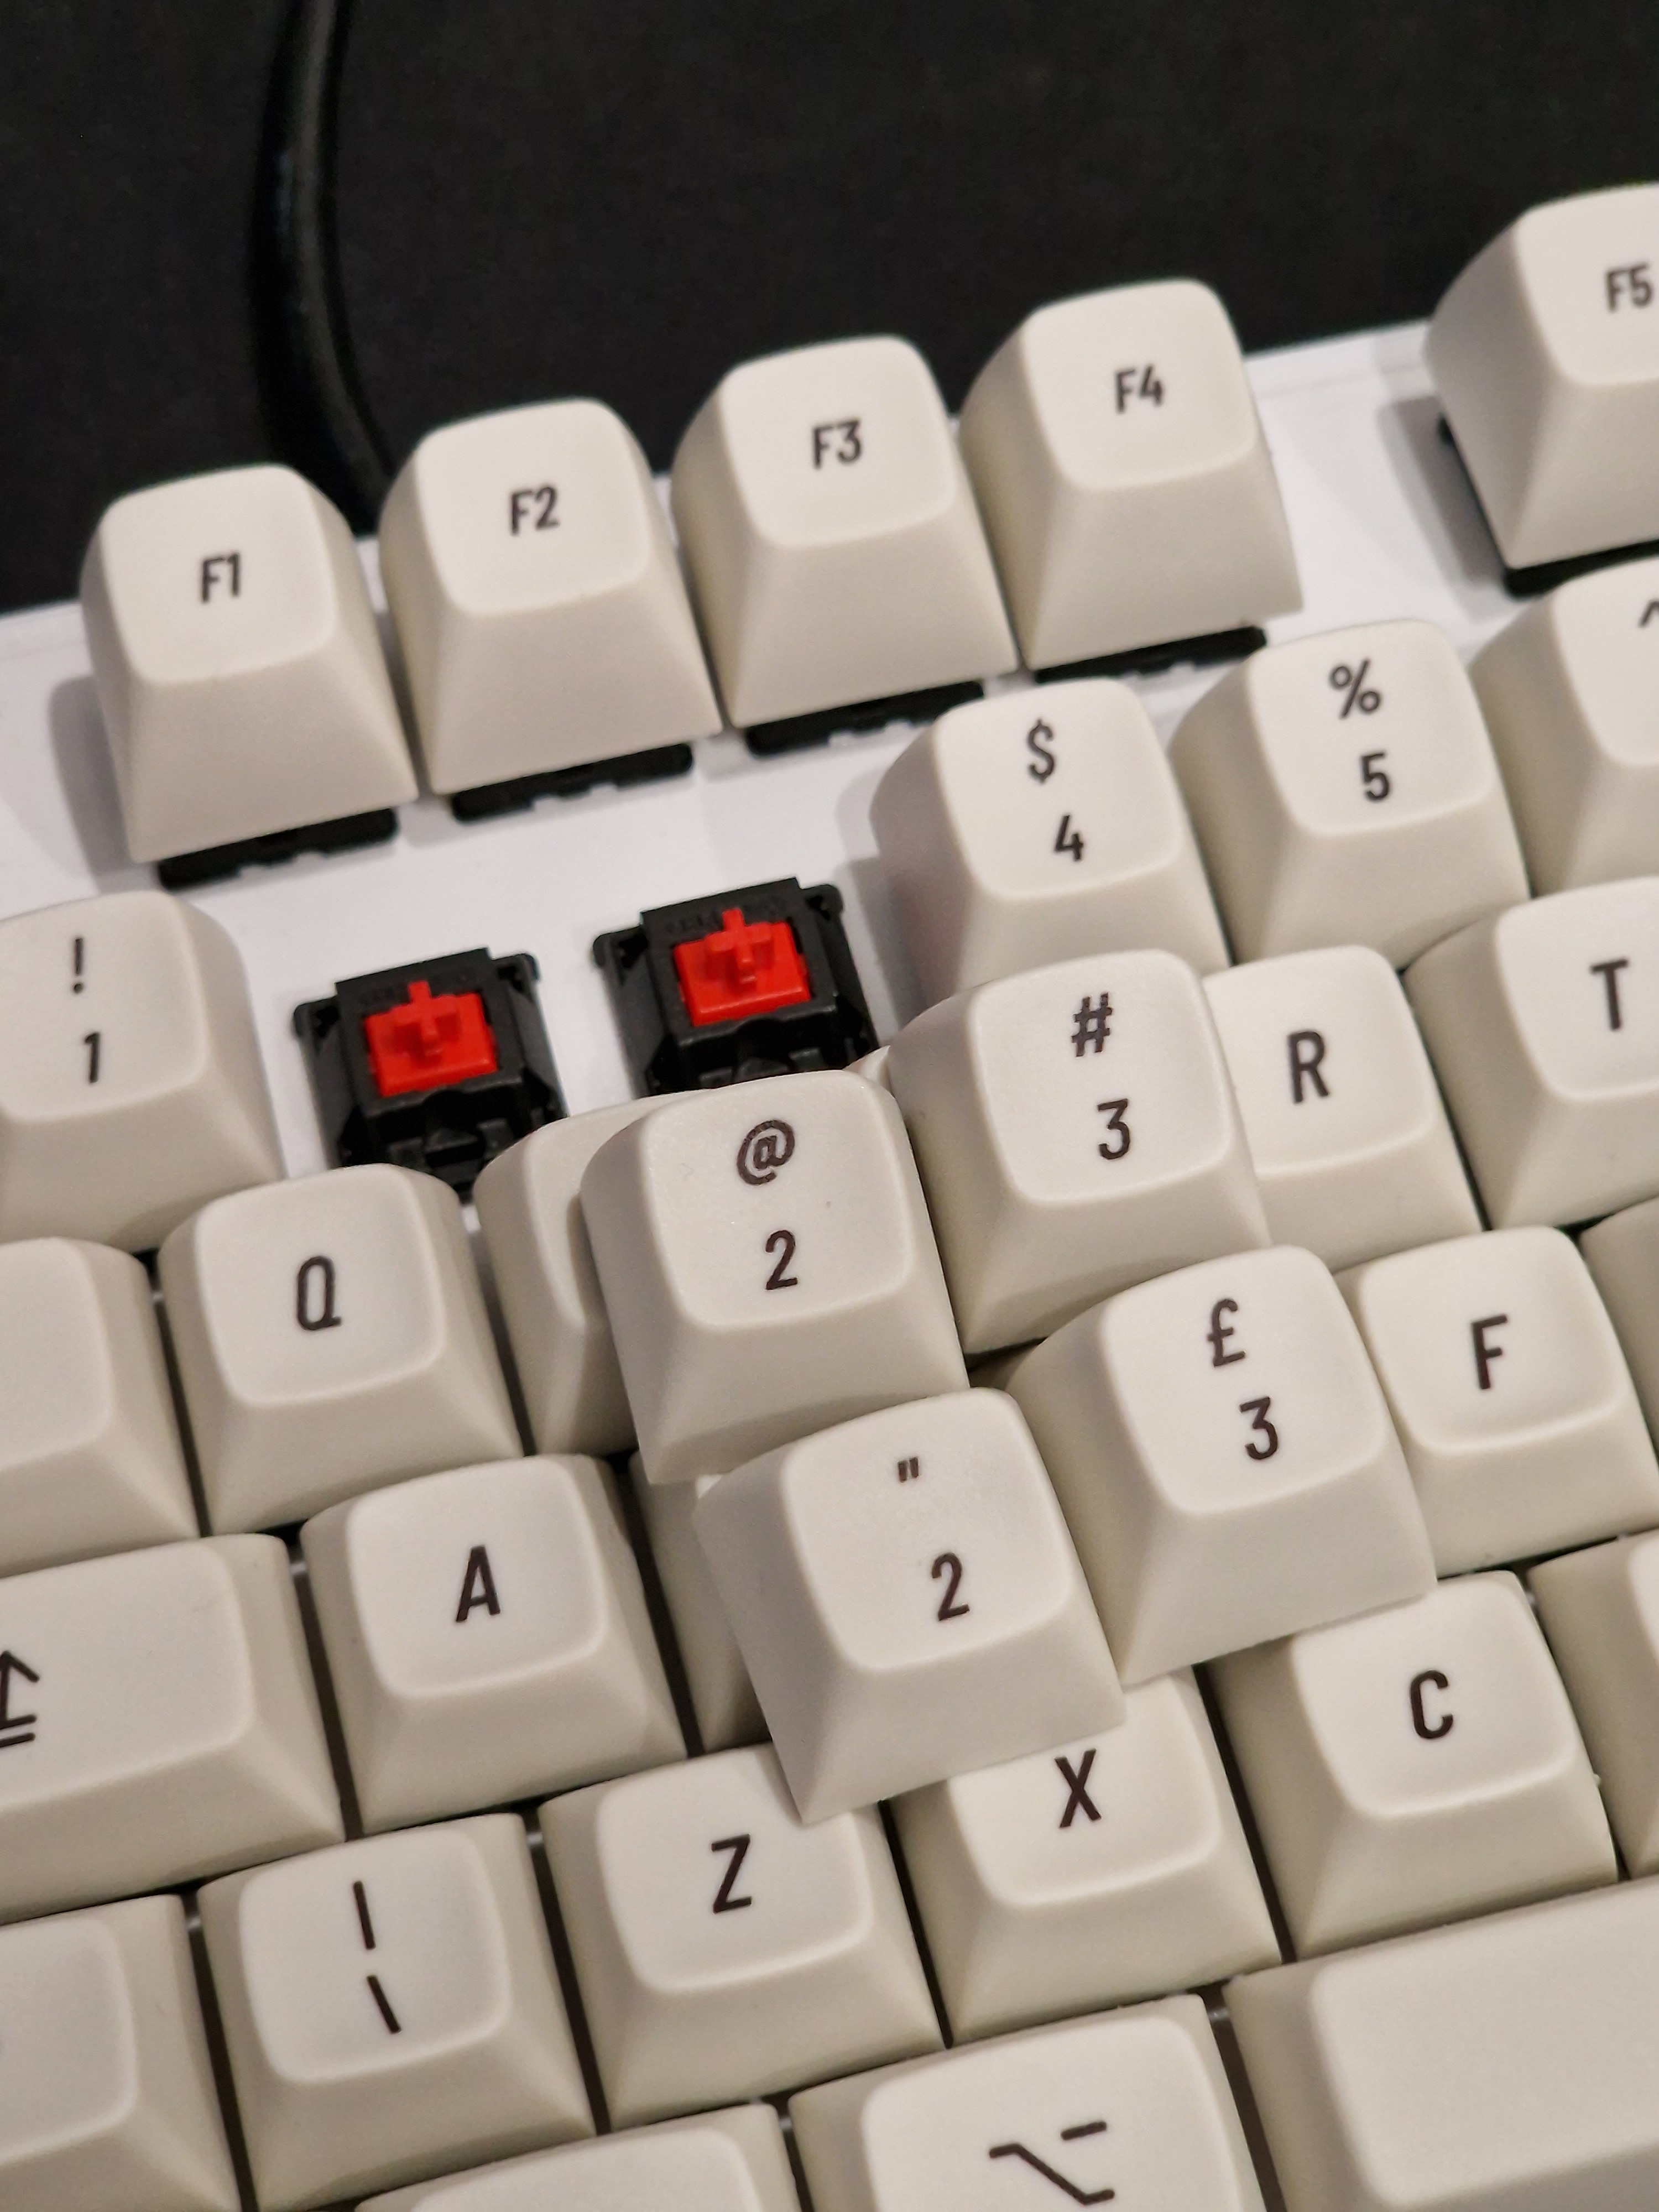
the MT3 susuwatari keycaps i chose create a very nice contrast against the white case for the keyboard.
the red enter + escape keys give it a very vibrant splash of colour too.
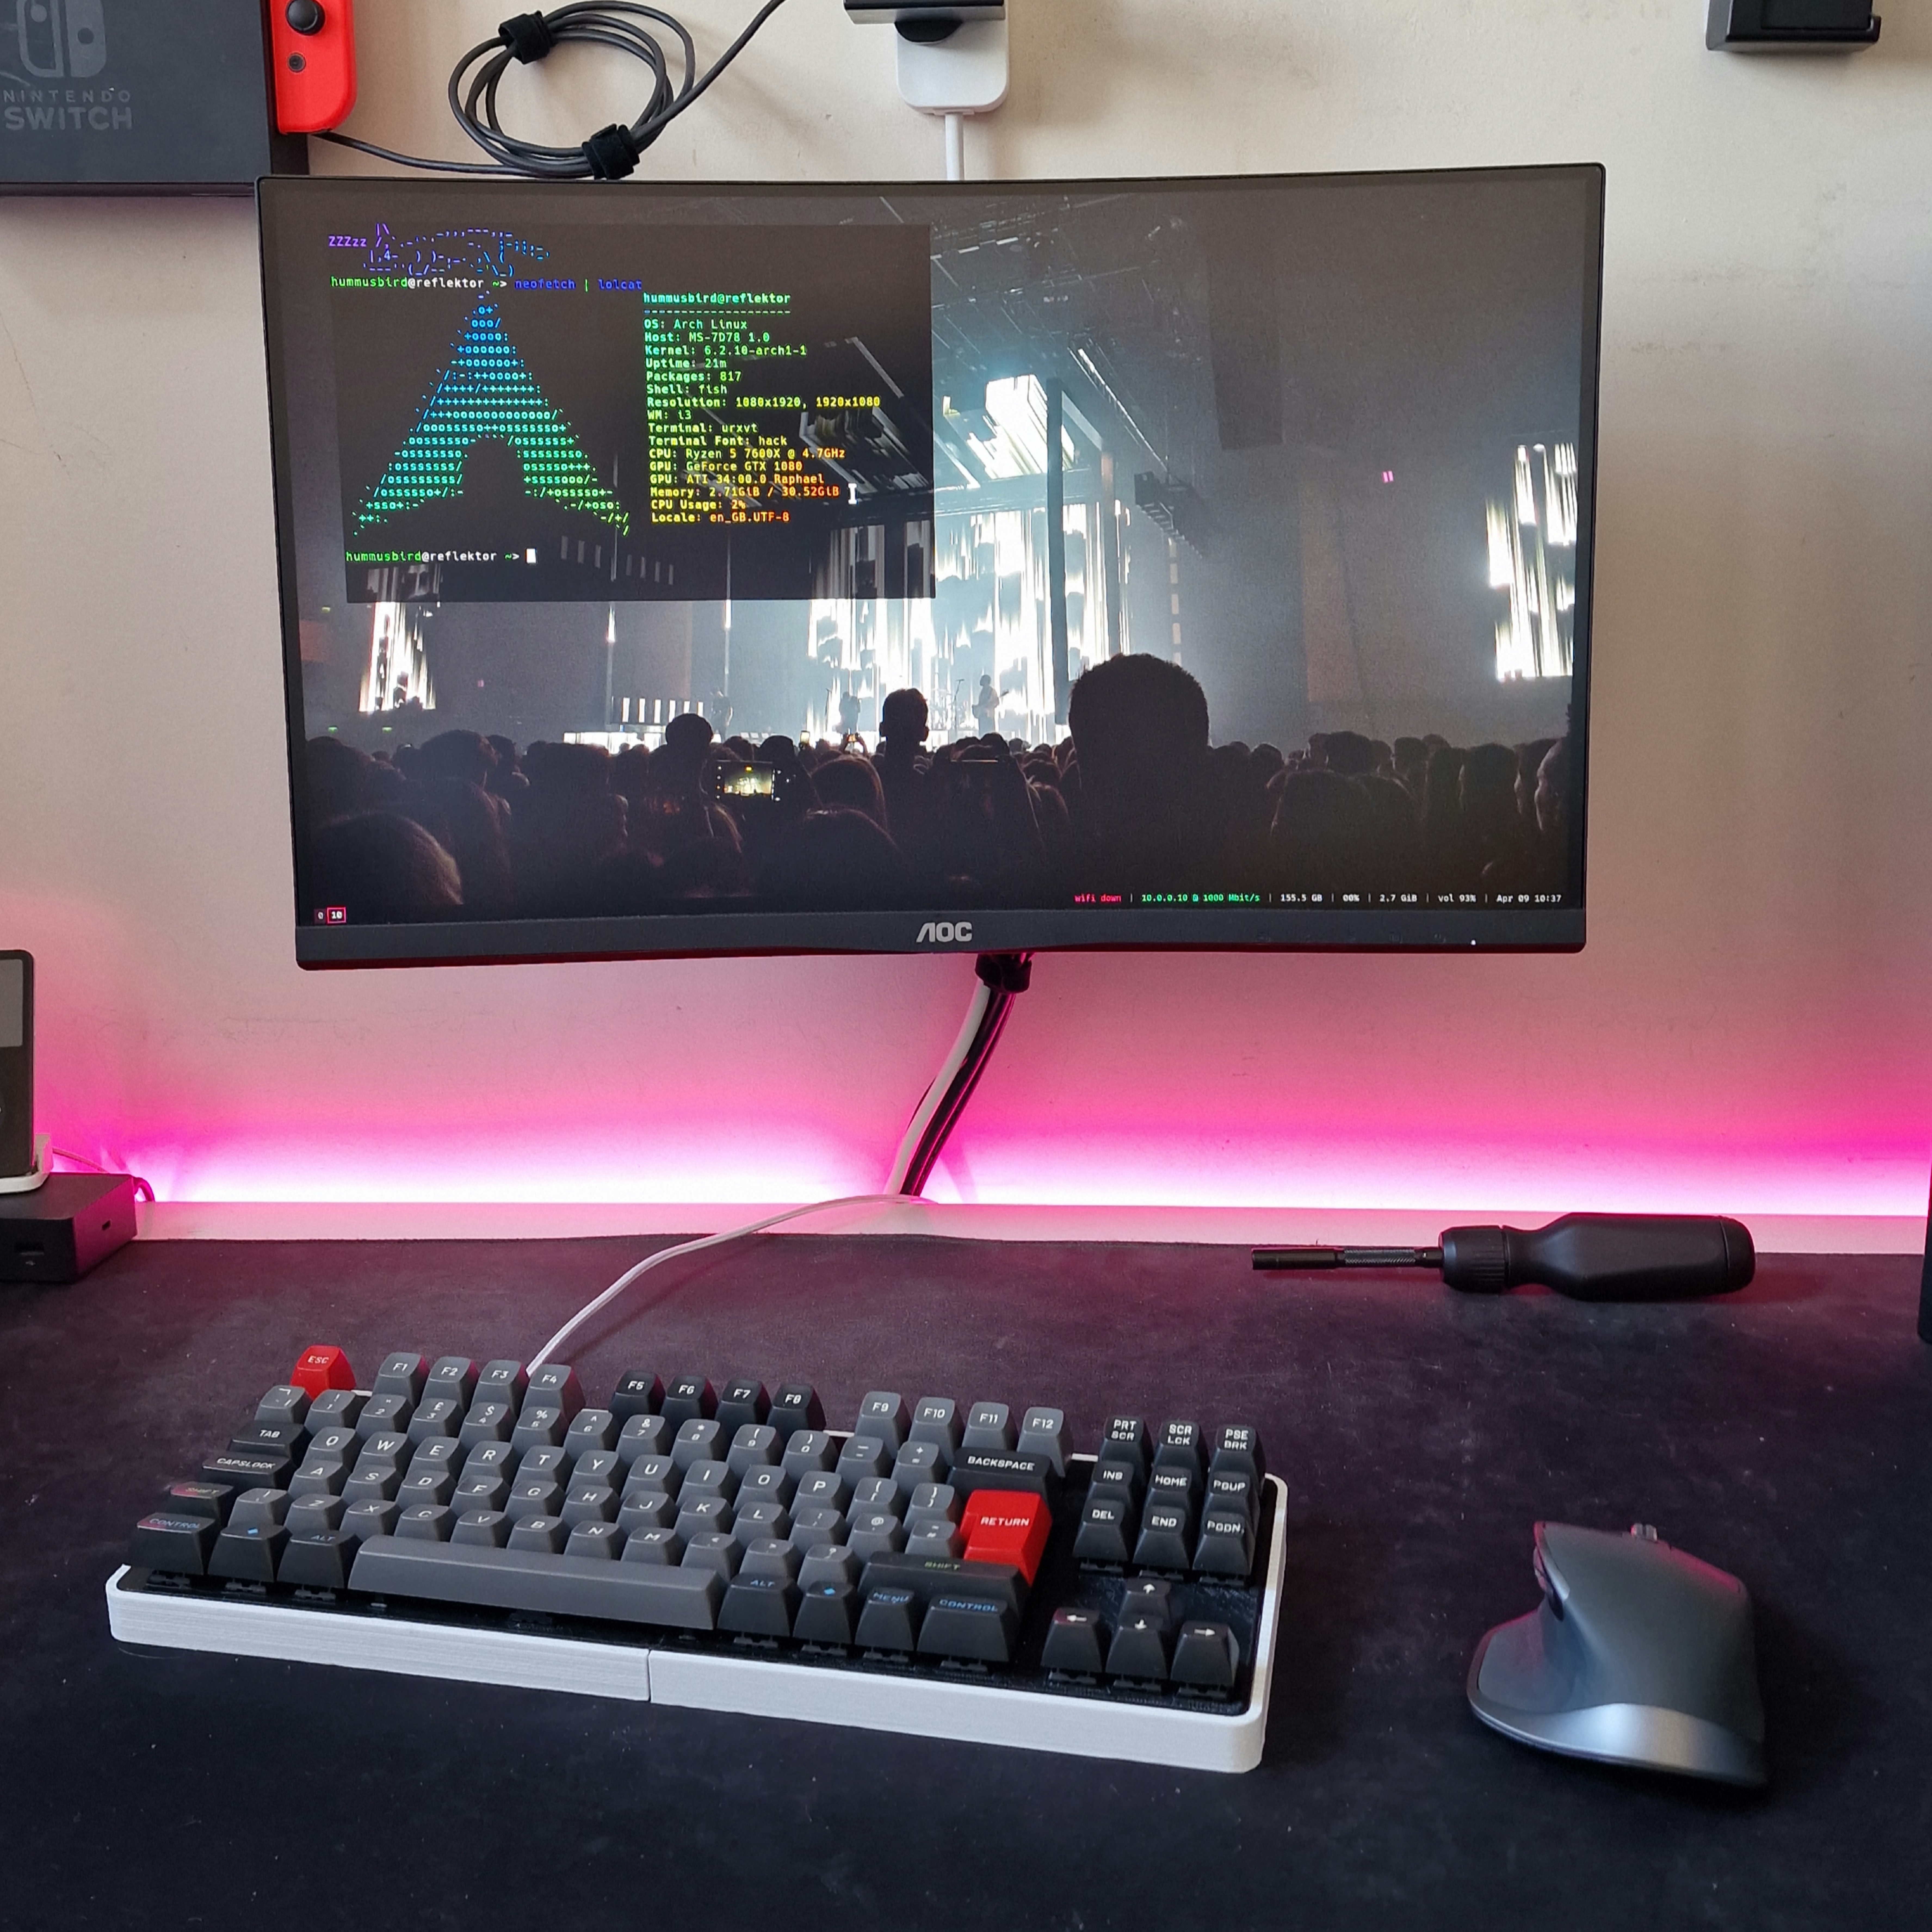
i'm very happy with the end result, and have plans to make made another keyboard in this style!
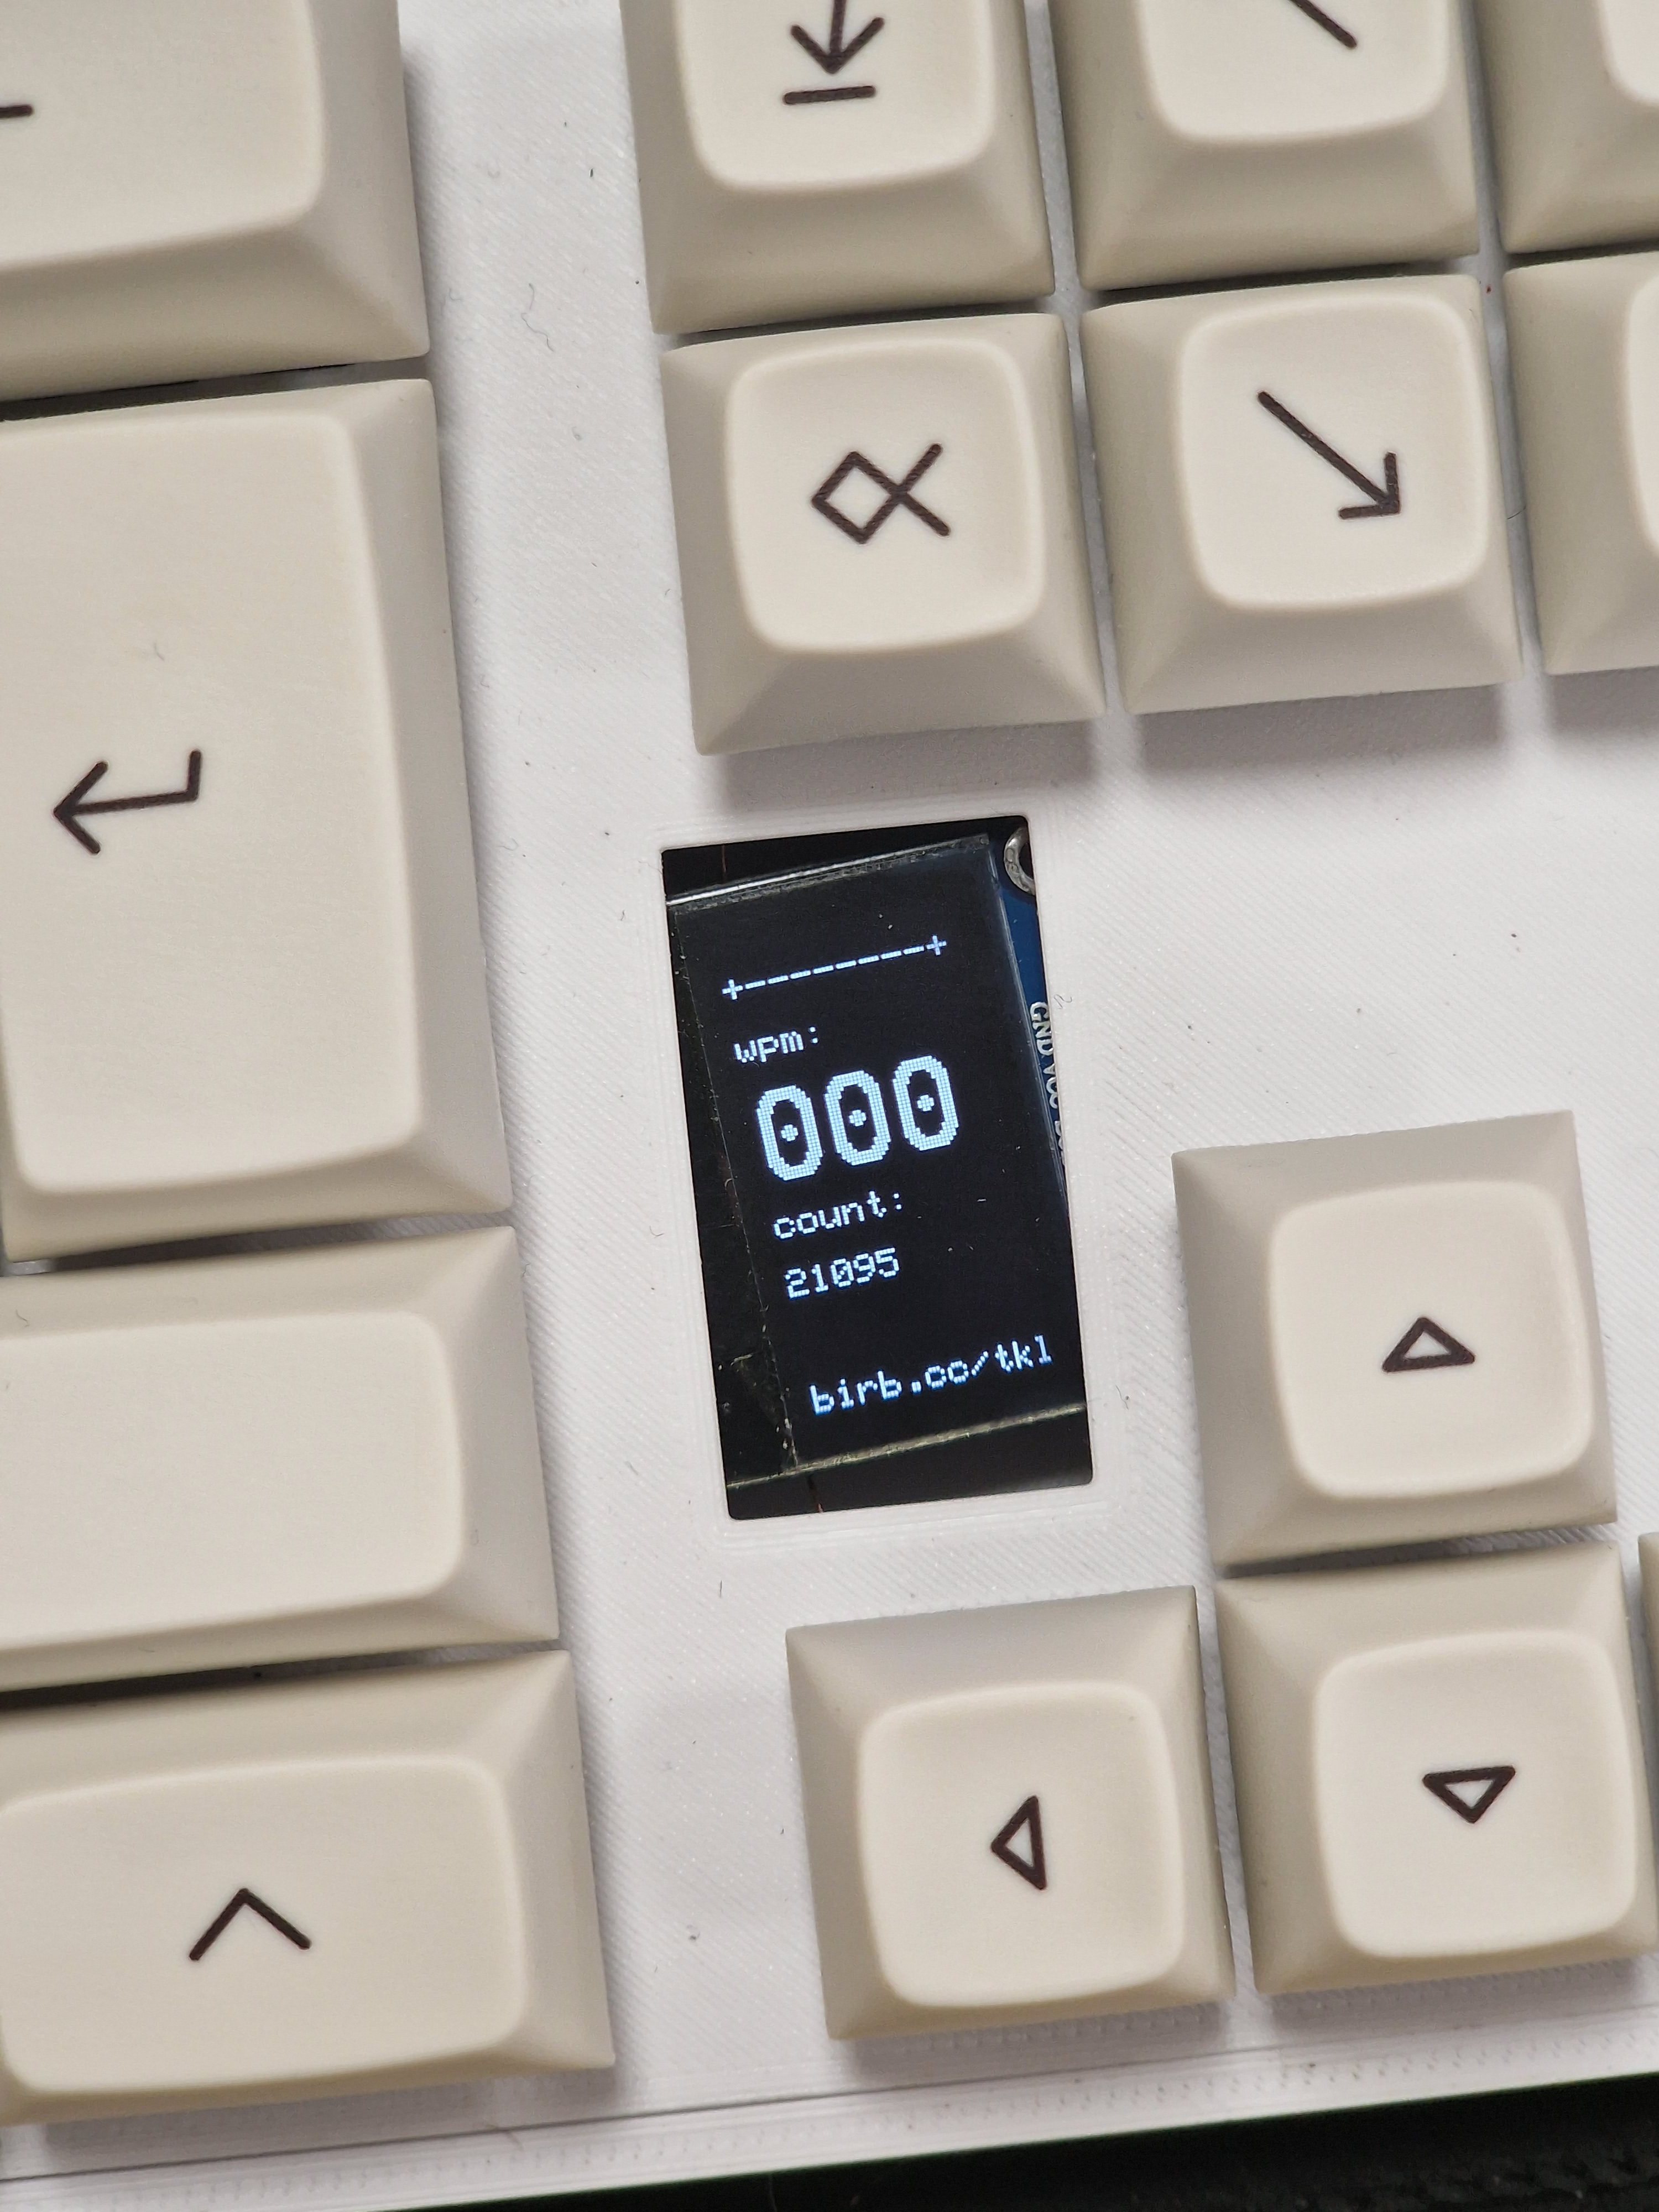
the only improvements from my previous design was the addition of a SSD1306 OLED display.
this oled can be connected directly to the microcontroller, but i had issues with the larger 1.3"
version and the teensy, instead opting for a smaller 0.9" one.
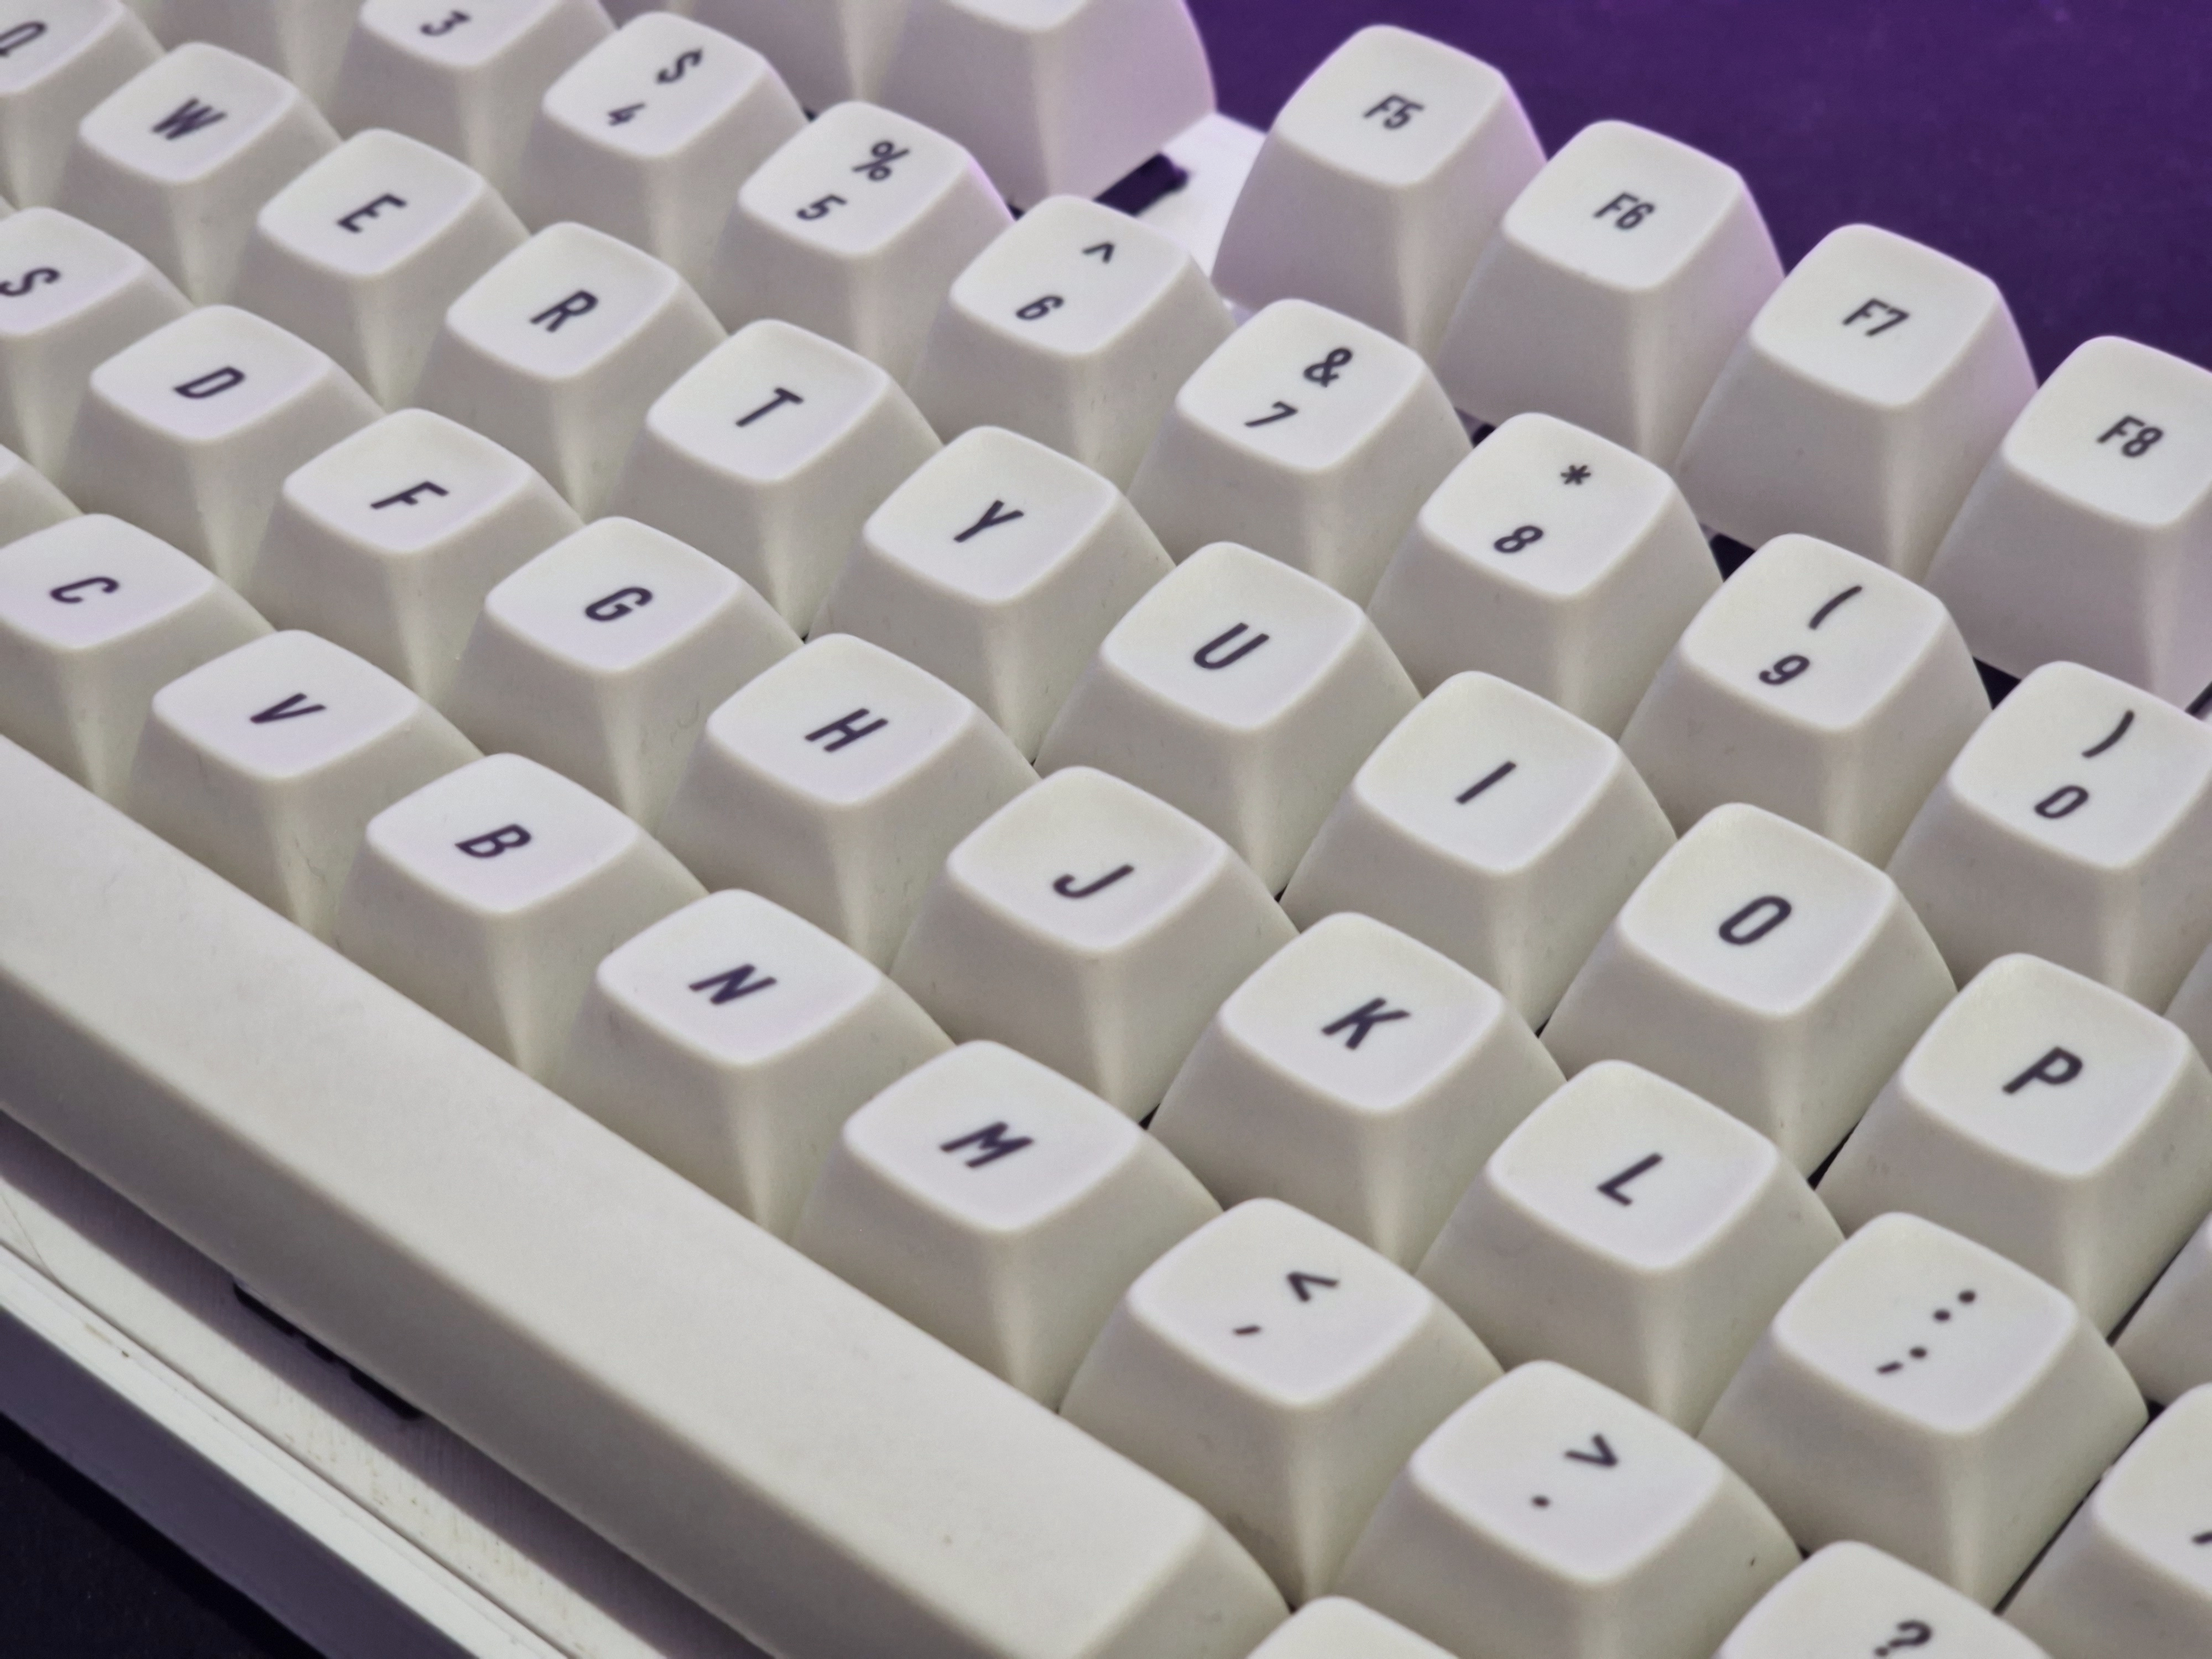
this keyboard was also entirely white, and used MT3 Extended 2048 keycaps. very pretty.
gallery